This guide will tell you how to use iPhone to Computer Transfer to transfer files from iPhone to Computer/iTunes or from Computer to iPhone.
Step 1: Launch the Program and Connect your iPhone
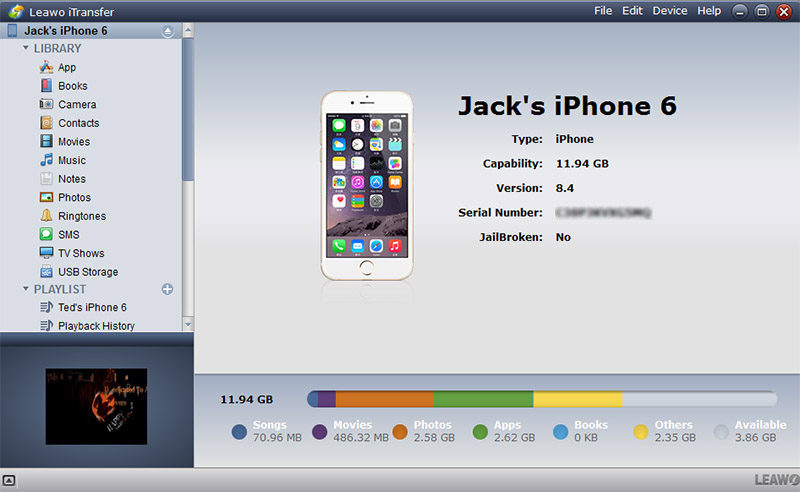
Launch iPhone to Computer Transfer and connect your iPhone to your PC. After doing this, all the files of your iPhone will be displayed immediately in the program interface.
Note:
Close the iTunes otherwise this software will not work.
Import Files from Local to iPhone
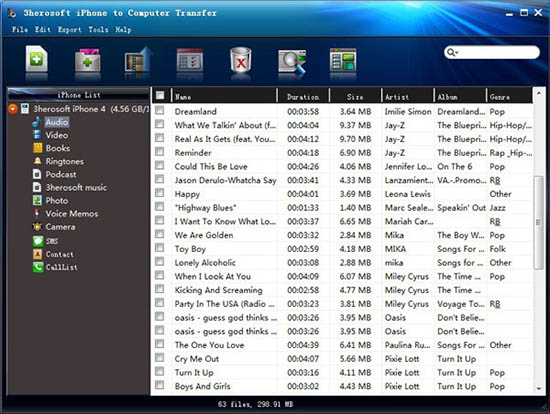
After completing this step, you will see all the iPhone files such as music, videos, contacts, photos, sms, voice in the program interface. Now open that library/playlist in which you need to import files from your computer. For example, to import music files click on the Audio Icon and press the ![]() button to add those music files to your iPhone
button to add those music files to your iPhone
To import a folder containing your files, click ![]() button and locate the folder to your iPhone.
button and locate the folder to your iPhone.
Export Files from iPhone to Computer
In order to transfer files from your iPhone to hard drive of your computer, you will need to select those files that you want to transfer to your local drive. For example, if you want to transfer your iPhone videos to local select the Video Icon in the program interface and click  button or choose "Export to Local" option from the Export menu.
Export iPhone Files to iTunes
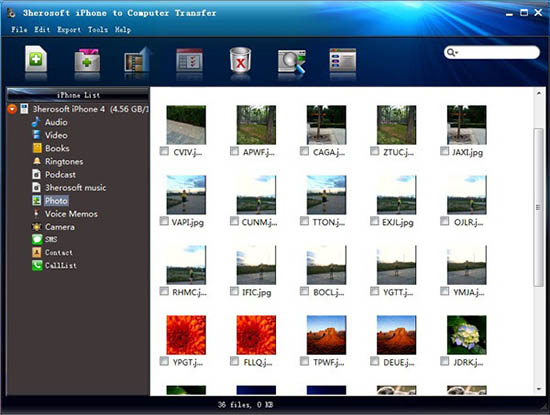
You can also use this tool to transfer iPhone files to iTunes. To do this, you will need to select files that you want to export to iTunes. Like, to transfer your iPhone pictures to iTunes, firstly select all the pictures and Click the  button or choose "Export to iTunes" option from Export menu.